This guide will walk you through installing and setting up nopCommerce on your UpTime Plesk hosting account.
If you don't already have hosting for nopCommerce, you can order from here: nopCommerce Hosting
In this guide, we will cover:
- Downloading the nopCommerce source code
- Creating your hosting space and uploading the source code
- Setting up the Database
- Install SSL Certificate
- Setting up nopCommerce
Download nopCommerce
Visit the nopCommerce download page: https://www.nopcommerce.com/en/download-nopcommerce
Click on the Windows download option:

You'll need to register on their website to be able to download the source code.
Save the download to your local computer.
Setting up the domain
Log in to your Plesk account and click on the Add Domain button:

Select the Upload Files option:

Type in your domain name:

Then click on the Add Domain button:

Wait while your web hosting account is created:

You will now see the File Manager screen, where you can upload the source code you downloaded earlier.
Click on the Plus icon and select Upload File:

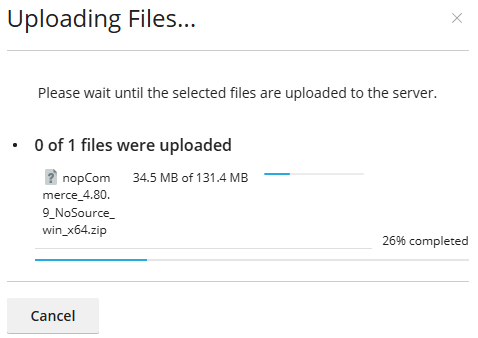
Select the file you downloaded earlier:
![]()
Then wait for the file to upload:
When finished, tick the source file you uploaded and then select Extract Files from the Archive button:

Tick the checkbox to Replace existing files and then click the OK button:

After a few minutes, you will see a confirmation message:

Setting up the database
Before you can install nopCommerce, you will need a database.
Go to your Plesk dashboard for your website (click the domain name at the top of the Plesk screen) and click on the Databases icon:

Click on the Add Database button:
![]()
Give your database a name (eg nop).
It's important that you select the MS SQL database server. Do NOT select the MariaDB option.
It's also a good idea to select your site from the drop-down related list:

Next, we will need a database user:
Fill in the name and then click on Generate to create a password. Click the copy Icon to copy this into your clipboard.

Important: Make sure you paste the Password into a document/notepad and take note of the Database Name and Database User. You will need these in the next section.
Finally, click on Create Database:
![]()
Install SSL Certificate
SSL provides security between your website and your clients and is essential for an e-commerce website.
Important: Before proceeding, ensure your domain name has the correct nameservers, so it is linked to your hosting.
Go back to your website dashboard in Plesk and click on SSL/TLS Certificates:

Click on the Install icon under Let's Encrypt:

Make sure all the boxes are ticked and click on Get it free:

After a few minutes, you will see a confirmation that the domain is secure.

Installing nopCommerce
Now that we have our web space, database and files installed, we can complete the setup of nopCommerce.
Open your domain in your web browser, and you will see the installation screen:

In the Store Information section, fill in your email address and create a password.
This will be your login for your website, so keep it safe.

Leave the Create sample data box unticked, unless you want to set up your store as a demo.
In the Database information, ensure SQL Server is selected, and do not tick the checkboxes.
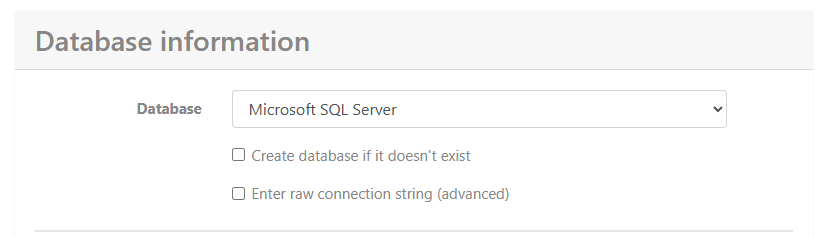
The server name will be 127.0.0.1
The database name is the database you created earlier:

The SQL username and password are the database user name and password you created earlier:

Now click on the Install button:

Wait while nopCommerce is installed:

After a few minutes, you will see a restarting message, and then your brand new nopCommerce site will load.
Click on the Login link at the top right:
![]()
Then enter your email and password you created in the Store Information section above and click on Log In

At the top of the site, you will see an Administration link; click this to enter the admin dashboard for your website.
![]()
Start setting up your store.
You can now start configuring your store the way you like it.
There are excellent resources available on the nopCommerce site: https://docs.nopcommerce.com/en/getting-started/
